Understanding Needle Groupings: Liners, Shaders, and Magnums
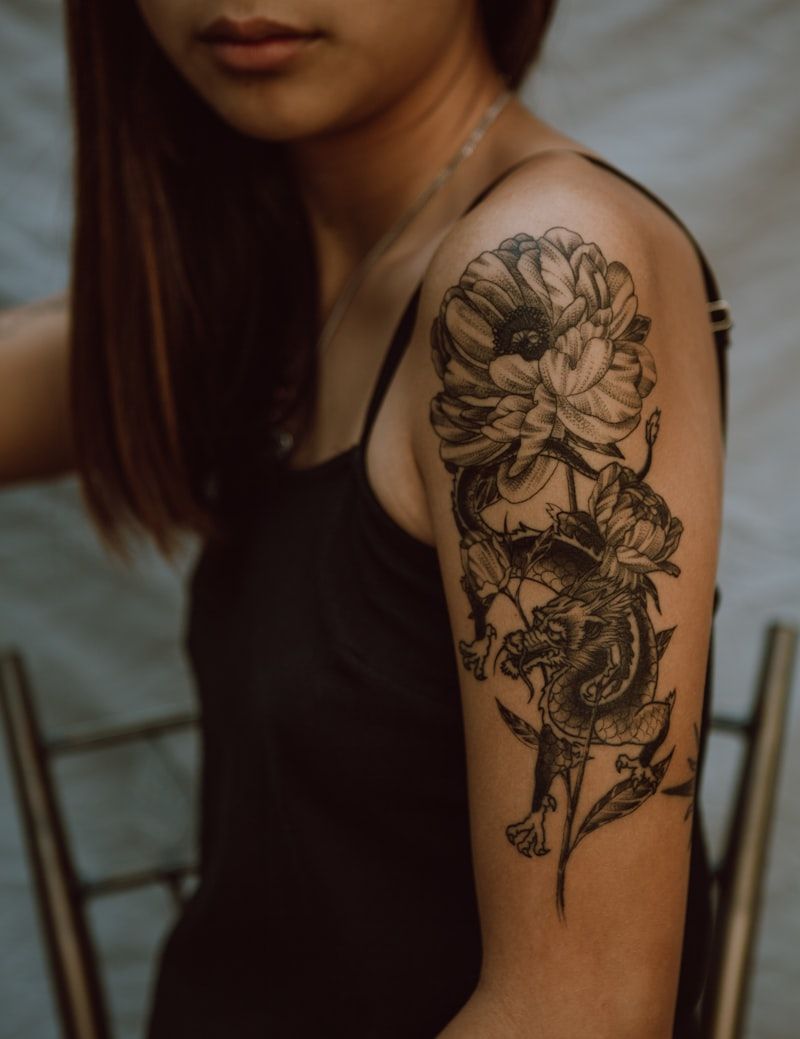
The Foundation Beneath Every Style
Long before a student develops a personal style, they need to understand the handful of needle groupings that make every style possible in the first place. Liners, shaders, and magnums aren't just different products on a supplier's website, they're different tools engineered to move ink into skin in fundamentally different patterns, and understanding exactly how each one behaves is one of the clearest markers of a well-trained artist versus someone still working by trial and error.
Liners: Precision Over Volume
Round liners arrange a tight cluster of needles in a small circular formation, designed to deposit a concentrated, controlled amount of ink along a narrow path.
- Best suited for outlines, fine detail, and any linework where crisp edges matter more than coverage speed
- Available in a range of needle counts, with fewer needles producing thinner, more delicate lines and more needles producing bolder, heavier outlines
- Depth control matters enormously with liners, since going even slightly too deep produces blowouts and excess trauma along what should be a clean, narrow line
- Hand speed needs to stay controlled and even, since liners are less forgiving of inconsistent movement than broader groupings
For a new student, liners are usually the grouping that takes the longest to master, precisely because there's so little room for error, a shaky line is immediately visible in a way that uneven shading sometimes isn't.
Shaders: Built for Blending
Round shaders use a similar circular arrangement to liners but typically with a looser spacing between needles, which spreads ink more broadly and softly rather than concentrating it along a tight path.
- Ideal for soft shading, blending, and gradient work where the goal is smooth transition rather than a hard edge
- Generally more forgiving than liners for hand speed variation, since the looser needle spacing naturally softens minor inconsistencies
- Work well for smaller shaded areas where a full magnum grouping would be too large or aggressive
- Often used in combination with liners within a single piece, switching between groupings as the work moves from outline to interior shading
Magnums: Covering Ground Efficiently
Magnum needles arrange needles in two staggered rows, sometimes flat and sometimes curved, designed to cover larger areas of skin quickly while laying down a consistent, even field of ink or shading.
- Best suited for larger shaded areas, color packing, and background work where efficiency and even coverage matter more than fine detail
- Curved magnums follow the natural contour of skin more closely, which many artists prefer for smooth color transitions and packing solid color evenly
- Flat magnums produce a straighter, more geometric edge, useful for bold panels of color or sharp-edged shading
- Require a different hand approach than liners or shaders, often involving broader, more sweeping motion rather than the tighter control used for outline work
Learning to Choose by Result, Not Habit
The mark of a genuinely skilled artist isn't memorizing which grouping goes with which style, it's understanding the actual physical behavior of each grouping well enough to choose correctly for whatever result a specific piece requires. A traditional bold-line tattoo and a soft black-and-grey portrait might both use liners, shaders, and magnums at different points, but the reasoning behind each choice will look completely different depending on the desired outcome.
- Start by asking what the immediate goal of the pass is, a crisp edge, a soft transition, or broad coverage.
- Match that goal to the grouping engineered for it, rather than defaulting to whatever grouping feels most familiar.
- Adjust needle count and taper within that grouping to fine-tune line weight or shading intensity for the specific area of skin being worked.
- Reassess as the piece progresses, since a single tattoo often moves through outline, shading, and packing stages that each call for a different grouping.
Students who build this habit early, thinking in terms of what result a grouping produces rather than which one they reached for last time, tend to develop far more versatile technique, and it shows in the range of work they're able to produce confidently by the time they graduate.
It also helps to practice deliberately switching between groupings within a single practice piece rather than always completing an entire design with one configuration before moving to the next. Working an outline with a liner, immediately shading part of the same design with a shader, and packing a small area with a magnum, all within one sitting, builds the kind of fluid transition between groupings that working artists rely on constantly during real client sessions.
Instructors evaluating a student's progress should pay attention not just to line quality within each grouping but to how deliberately a student chooses between them. A student who can explain, clearly and specifically, why a particular needle grouping was chosen for a particular pass has usually internalized far more than one who has simply memorized which configuration to reach for in which situation.